
Are you looking for a cost-effective way to start your garden? Look no further than
straw bale gardening!
Straw bale gardening is gaining popularity as a method of growing plants as it has many benefits, and it's easy! One of the biggest advantages is that it is a low-cost and low-maintenance way to grow vegetables, fruits, and herbs. Straw bales provide an excellent, nutrient rich growing medium for plants.
With straw bale gardening, you can quickly set up a garden without having to buy a whole lot of soil. Plus, you can feel good about utilising a by-product of food
production. So why not give it a try and see the results for yourself?

Create your own straw bale garden
You'll need some simple materials:
- Bale/s of Pea Straw
- Water
- Natural fertiliser (Fodda natural fertiliser)
- Weed mat (Wool weed mat is amazing) or newspaper
- Wooden boards for edging/containment (optional)
Follow these quick steps to get started:
- Lay down weed barrier.
- Arrange your bales.
- Water every 1-2 days for 2-3weeks, fertilise once a week (1 cup Fodda Fertiliser per bale per week does the trick)
- Plant into bales with a little soil.
Watering
It's important to note that overwatering is a common mistake in straw bale gardening. Due to the air space within the bales, it's important to water regularly with smaller amounts. But, be sure to check the moisture content by digging into the bale to ensure the water is making it to the bottom.
A detailed explanation
How many bales do you need?
If you are planning to use straw bales in your garden, figuring out the number of bales you need is an important step. There are two popular methods for arranging the bales: rows or a grid. If you choose the grid method, make sure it is not deeper than what you can reach without stepping on the bales otherwise you may damage them or plants growing in them. Once the bales are ready for planting, they can easily be compacted if you want the straw to be lower and denser.
Each bale measures approximately 400 mm in width, 350 mm in height, and 850 mm in length in terms of area coverage. You can choose to lay them flat or on their side, depending on how deep you want to plant and how much planting surface area you need. With these tips, you can get started on incorporating straw bales into your garden in a way that works for you.
- If you lay them flat then you get more planting surface area but less depth. You also end up planting into the lengths of straw.
- If you lay them on their side then you get more depth and end up planting into the cut ends.

Examples of layout options.
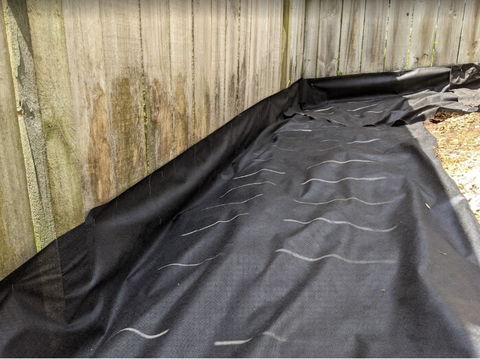
Lay down a weed barrier.
You can use a range of substrate options to put down as a weed preventative. Just
make sure that it will let water through. In the example images you’ll see weed mat
used, but newspaper or old sheets that can be cut into strips work just as well.
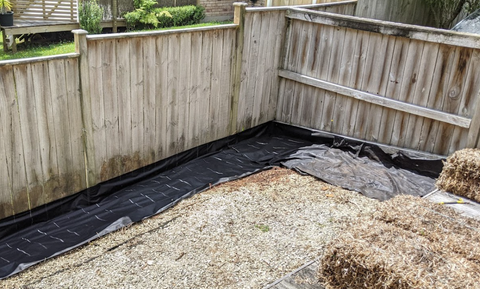
We used a staple gun to attach the weed mat to the fence to reduce weeds from
growing up the back.
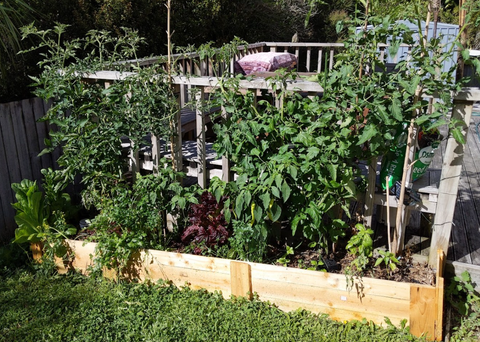
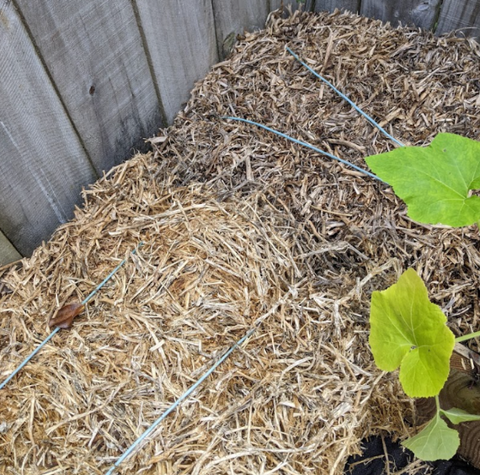
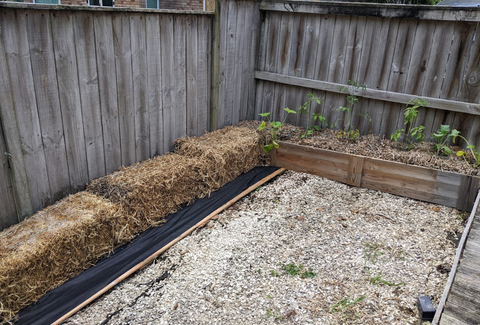
Arrange your straw bale garden.
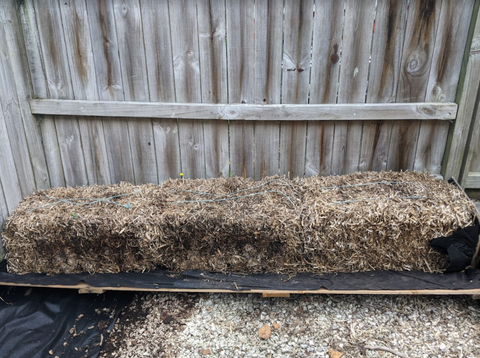
To utilise space on the edge of a garden we have lined our bales along a fence or the edge of a deck. But you can also have rows of bales out in the open.
A fence, deck or boxing also adds support for the bales as they start to break down. Make sure to pack them in tight and close together as they will loosen as they breakdown.

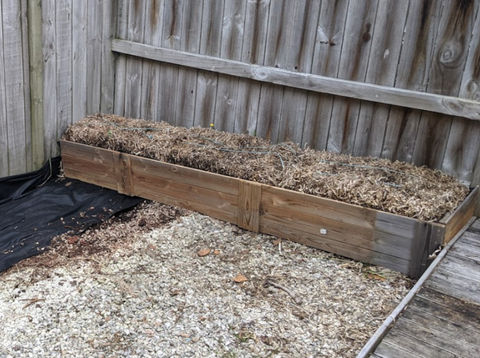
Garden edging and boxing.
When it comes to straw bale gardening, adding edging or a wall around the bales is
entirely optional. In fact, the straw bales hold up quite nicely without any extra support. However, we found that the birds in our area were taking the straw from the bales from one part of the garden to make nests. To combat this issue, we added edging to that specific area, which not only kept the birds out but also made the garden look prettier.
The garden without edging grew plants just as well. If you do decide to add edging,
you don't need to buy a lot of wood. Get creative with what you use or even repurpose. You should be able to find pallets or possibly shipping crates for free in your local industrial area. We stumbled upon a perfect solution when we found long crates that were used for shipping pipe and metal lengths. When dismantled, they made for perfect garden edges as they were in long sections with the perfect height.
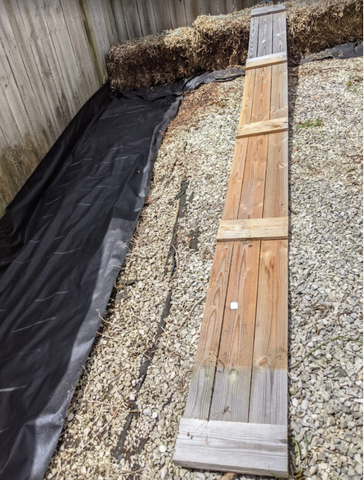
Shipping crate sections that just needed cutting down.
Conditioning your straw bales – get them ready to plant in
When preparing straw bales for planting, it's important to condition them first. This process helps to break down the plant matter within the bale, making it a more
suitable environment for growing plants. To condition your bales, you'll need to water them regularly and add fertiliser.
For the first 2-3 weeks, water your straw bales every 1-2 days with around 5L (or 1/2 a bucket) of water per bale per day. This will help to moisten the bales and encourage the natural bacteria to thrive and break down the straw. During this time, sprinkle fertiliser onto the top of your bales once a week. The water will transport the fertiliser through the bales.
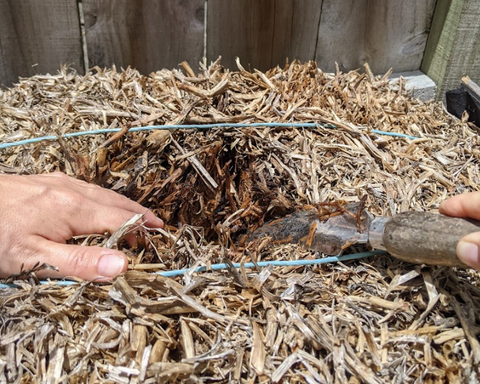
As the bacteria gets to work, your bales will begin to get warm inside. This is a sign that the conditioning process is working. Over the next few weeks, the inside of the bale will start to break down and become more mulch-like. Once the conditioning process is complete, the inside will cool down and the colour of the outside and inside of the bale will change and become darker.
By taking the time to condition your straw bales, you'll be creating an ideal
environment for your plants to grow and thrive. So be patient and stick with the
conditioning process – it’s well worth the effort!
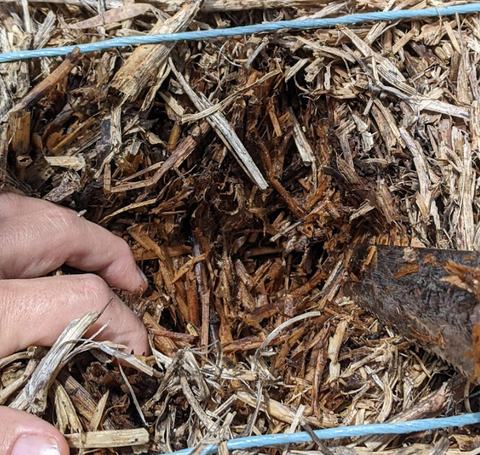
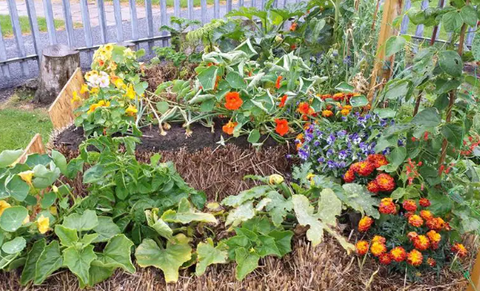
A straw bale ready to plant in. Dry and faded on the outside but moisture rich on the inside.
In the image above you can see the difference between a fresh straw bale and one
that has been outside in the weather and conditioned over a few weeks. The conditioned bale has been properly prepared for planting by undergoing a process of decomposition that helps to break down the straw and makes the nutrients available to plants.
Planting your garden.
Once the bale is conditioned and the temperature has dropped inside the bale it is
ready to plant in.
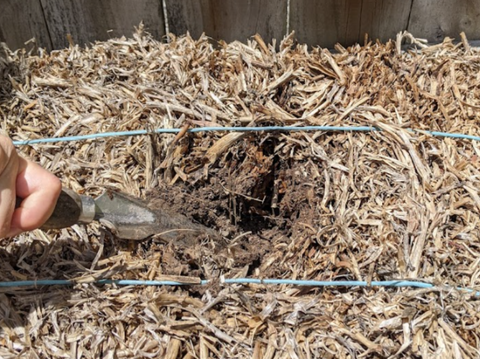
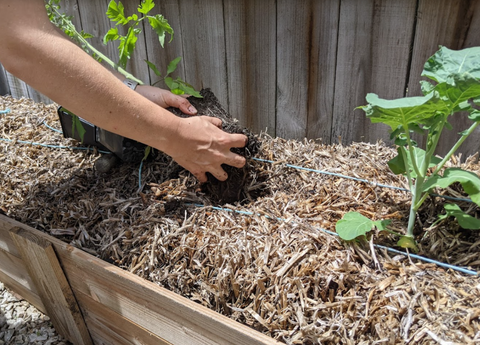
You can plant directly into the straw, but to give the plants a bit of a boost, and to
reduce the shock of transitioning from soil to straw, it is good to add a little soil into the planting hole before adding the plant.
Make a hole in the straw bale.
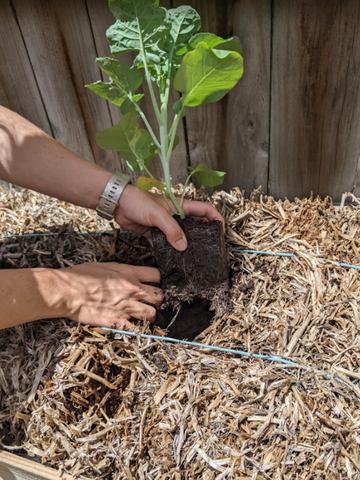
Add 1- 2 cups of soil. Not needed if your plant is already in a larger pot with soil.
Then plant the seedlings as you normally would. If you are growing plants that climb or need support, such as beans or tomatoes then you can add stakes and support as you normally would. Having your garden along a fence also helps with this.

Easily add more sections if you want more garden to plant in.
Caring for your straw bale garden.
Caring for plants in a straw bale garden can be a bit different from traditional
gardening methods, but it's still fairly straightforward. The most important thing to keep in mind is that straw bale gardens tend to dry out more quickly than traditional
gardens, so you'll need to keep a close eye on the moisture level.
When it comes to watering your straw bale garden, you'll want to do so frequently and deeply. This means watering the bales until the water runs out the bottom, to ensure that the roots get enough moisture. In hot weather, you may need to water your garden daily. In addition, you can help retain moisture in the bales by covering them with an additional layer of pea straw.